


The Quick Answer
Creating beautiful Thanksgiving place cards doesn't require expensive supplies or advanced crafting skills. These 10 DIY ideas use common household items to create personalized touches that cost under $2 per card.
Why This Matters
Many homeowners discover that the small details make the biggest impression during holiday gatherings. It's common to see hosts spending hundreds on decorations while overlooking simple touches like place cards that actually make guests feel special. These personalized cards create conversation starters and show thoughtfulness without breaking your holiday budget. Most importantly, they're something you can easily tackle the day before Thanksgiving without stress.
Simple Paper Fold Place Cards (5 Designs)
Paper folding creates elegant place cards with just cardstock and creativity. Start with standard 8.5x11 inch cardstock cut into 4x6 inch rectangles - this gives you four cards per sheet for about $0.25 each.
The Classic Tent: Fold your rectangle in half lengthwise. Write names on the front in your best handwriting, then add a small seasonal doodle like an acorn or maple leaf.
The Accordion Stand: Make two small folds at one end (about 1 inch each) to create a triangular base. This keeps cards upright and looks more sophisticated than basic tents.
The Pocket Card: Fold up the bottom third, creating a small pocket. Tuck in a cinnamon stick or small sprig of rosemary for a fragrant surprise.
What Actually Works
When you're making multiple cards and want consistent, professional-looking results, having a quality notebook like the Moleskine Classic Notebook helps you practice lettering and plan designs. The ruled lines guide your spacing, and the hard cover gives you a stable writing surface even when working at your dining table.
The Triangle Pop-up: Cut a small triangle in the center, fold it forward to create a 3D element. The Corner Curl: Simply curl one corner and secure with a small dot of glue for an organic, artistic look.
"I made 16 place cards in about 45 minutes using just cream cardstock and a brown marker. My mother-in-law asked where I bought them because they looked so professional!"
- Sarah from Ohio
Natural Element Cards (Leaves & Pinecones)
Nature provides free decorating materials that capture Thanksgiving's essence perfectly. Collect items a day or two ahead, then press leaves between heavy books overnight for flat, workable pieces.
Pressed Leaf Cards: Glue pressed leaves directly onto cardstock, then write names with metallic markers. Red oak, maple, and ginkgo leaves work beautifully. Cost per card: about $0.40.
Pinecone Holders: Cut a small slit in the top scales of pinecones. Insert small paper flags with names written in fall colors. These double as take-home favors.
💡 Pro Tip: Spray leaves lightly with hairspray after attaching them to prevent crumbling. This trick keeps your cards looking fresh throughout the entire meal.
Twig Frames: Hot glue small twigs into square frames, then attach cardstock backing. Write names on the cardstock center. These rustic frames cost under $1 each and look like expensive boutique cards.
Acorn Cap Holders: Large acorn caps make perfect tiny vases. Fill with a single flower or small rolled paper scroll containing names. Guests love these whimsical touches.
The key with natural elements is embracing imperfection. Slightly bent leaves and asymmetrical twigs add character that mass-produced decorations can't match.
Upcycled Material Creations
Transform everyday items into sophisticated place cards while reducing waste. These projects prove that creativity matters more than expensive supplies.
Wine Cork Stands: Slice wine corks lengthwise, creating flat bases. Cut small slits on top to hold paper cards. Each cork holder costs essentially nothing and adds rustic charm.
Old Book Pages: Cut strips from vintage books or sheet music (check thrift stores for damaged books). Roll into small scrolls tied with twine. Write names on small tags attached to the twine.
What Actually Works
For multiple upcycled projects requiring precise writing on various surfaces, the Pilot G2 Premium Gel Ink Pens provide consistent, smooth writing on everything from cork to cardstock. The fine point gives you control for detailed work, and the 12-pack ensures you won't run out mid-project.
Mason Jar Lids: Remove the center disc from canning jar lids. Replace with cardstock circles featuring names and thanksgiving messages. The metal ring frames create an industrial-chic look.
Puzzle Piece Cards: Large jigsaw puzzle pieces make unique place card bases. Paint them in fall colors, let dry, then write names with contrasting markers. Kids especially love these playful cards.
CD/DVD Upcycle: Cover old discs with autumn-colored tissue paper, leaving small clear areas for names. The reflective surface creates subtle shimmer effects under dining room lighting.
"I used old Christmas cards cut into leaf shapes and wrote new names on them. It was perfect for our 'thankful for memories' theme, and several guests asked to take theirs home."
- Jennifer from Texas
Quick Calligraphy & Lettering Tricks
Beautiful lettering elevates any place card from homemade to handcrafted. You don't need calligraphy training - just a few simple techniques that anyone can master in 15 minutes.
The Fake Calligraphy Method: Write names in regular cursive, then add thickness to downward strokes by drawing a parallel line and filling the space. This creates elegant calligraphy effects with regular pens.
Block Letter Styling: Write names in simple capital letters, then add small decorative flourishes at the ends. Tiny dots, short lines, or small curves transform basic lettering into custom typography.
💡 Pro Tip: Practice names on scrap paper first, especially longer ones like "Christopher" or "Alexandria." Planning your spacing prevents cramped lettering that looks rushed.
Shadow Effects: Write names normally, then add a shadow by drawing the same letters slightly offset in a darker color. Gray shadows under black letters create professional depth.
Mixed Case Charm: Alternate between upper and lowercase letters within names for a playful, modern look. "sArAh" or "MiChAeL" feels trendy and young.
What Actually Works
When creating templates or practicing lettering designs, the Logitech K780 Multi-Device Wireless Keyboard lets you design digital templates on your tablet or phone while working at your craft table. You can quickly look up lettering inspiration online and switch between devices seamlessly without cluttering your workspace.
Gradient Letters: Use two similar colored markers to create ombre effects. Start with the lighter color, then blend in darker tones while the ink is still slightly wet.
Last-Minute 15-Minute Solutions
When guests are arriving in hours and you haven't made place cards yet, these ultra-quick solutions save the day without sacrificing style.
Clothespin Clips: Write names directly on wooden clothespins with markers. Clip them to napkins, wine glasses, or small cards. Takes 2 minutes per setting and looks intentionally rustic.
Sticky Note Upgrades: Cut sticky notes into leaf or pumpkin shapes, write names, and stick directly on plates. Choose fall-colored sticky notes for best results. Total time: 10 minutes for 8 guests.
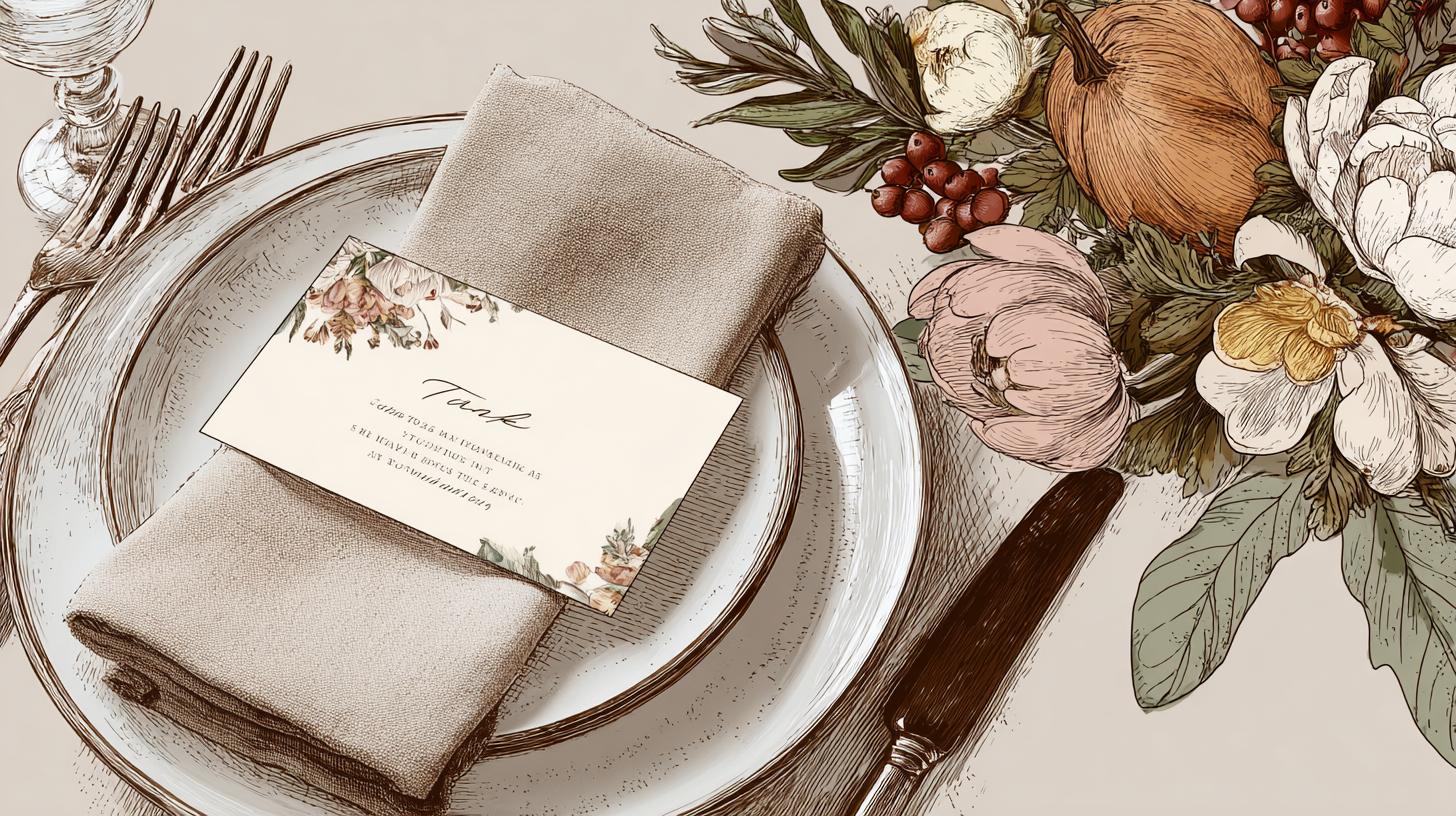
Napkin Ring Cards: Cut business card-sized rectangles from cardstock. Punch holes and thread through napkin rings along with napkins. Names written on cards peek out beautifully.
Glass Marker Method: Write names directly on wine glasses using washable markers. Guests know their glass all evening, and names wash off easily. Backup plan: use tape flags on glass stems.
Phone Photo Cards: Print wallet-sized photos of guests from social media or phone contacts. Write "thankful for [name]" on the back. Personal and touching, especially for family gatherings where you have recent photos available.
The secret to last-minute success is keeping materials simple but execution thoughtful. Even basic solutions feel special when you add personal touches like favorite colors or inside jokes.
Mistakes to Avoid
- Overcomplicated designs: Simple, clean cards look more elegant than busy, cluttered ones with too many decorative elements.
- Unreadable fonts: Fancy lettering that guests can't read defeats the purpose - clarity beats complexity every time.
- Wrong paper weight: Thin paper flops over and looks cheap - invest in cardstock that stands up properly throughout the meal.
Bringing It All Together
Beautiful place cards don't require artistic training or expensive supplies - just creativity and care. Your guests will remember these personal touches long after the turkey is gone.
Choose one technique that matches your time and skill level, gather your materials, and start creating. Your Thanksgiving table is about to become much more memorable.


